fbpx

Le Bouquet St-Laurent Florist

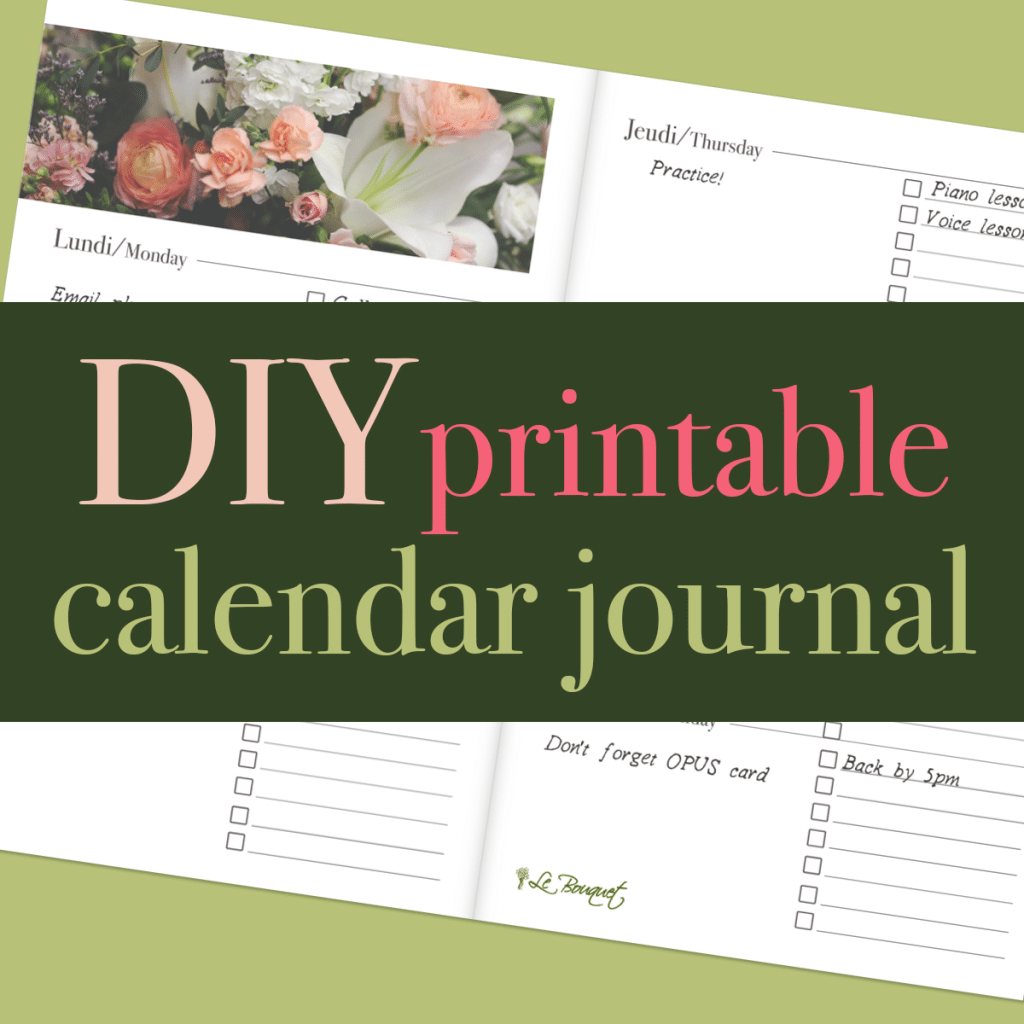
DIY Printable Calendar Journal
DIY Printable Calendar Journal

Here’s a DIY so easy a 6 year old can do it! This is also a great one for kids or teens who don’t have the cash to buy Mom or Sister or Flower Enthusiast the bouquet of their dreams.

How about a beautifully crafted organizer journal instead?

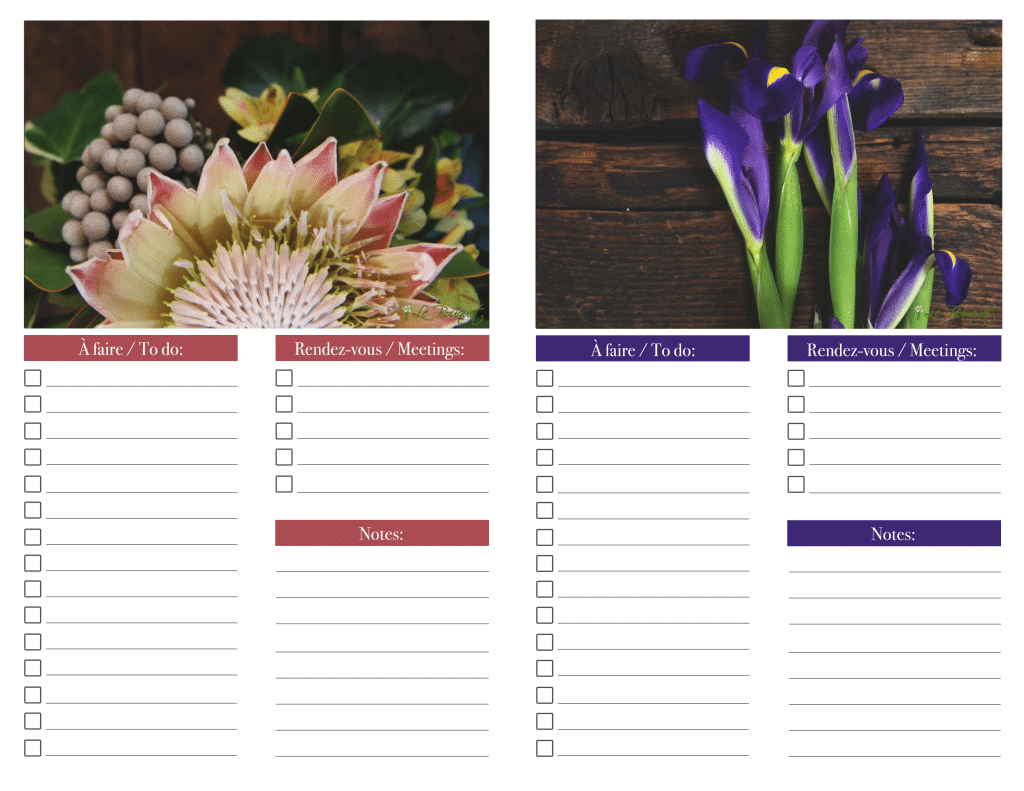
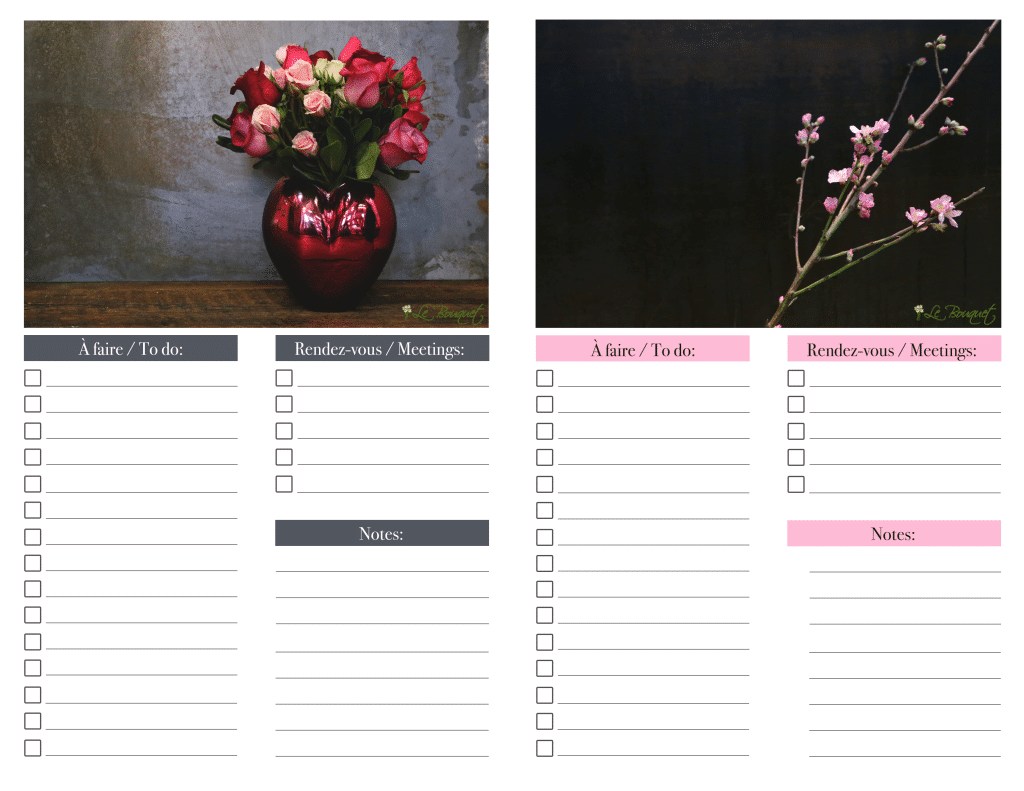
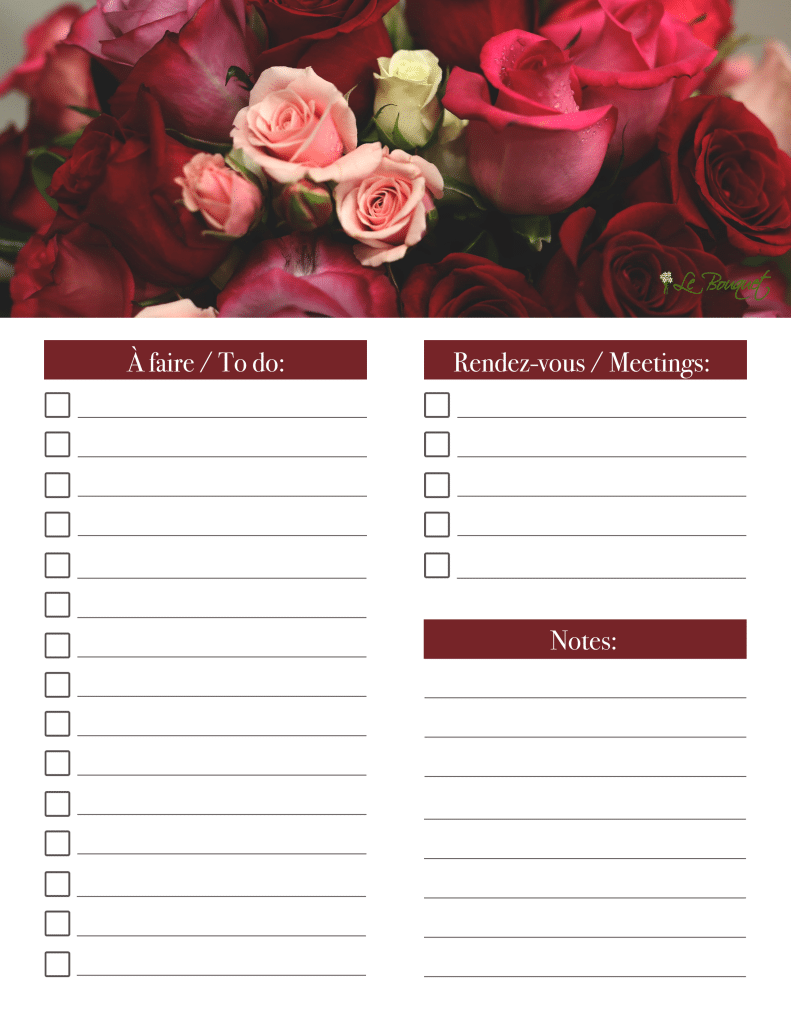
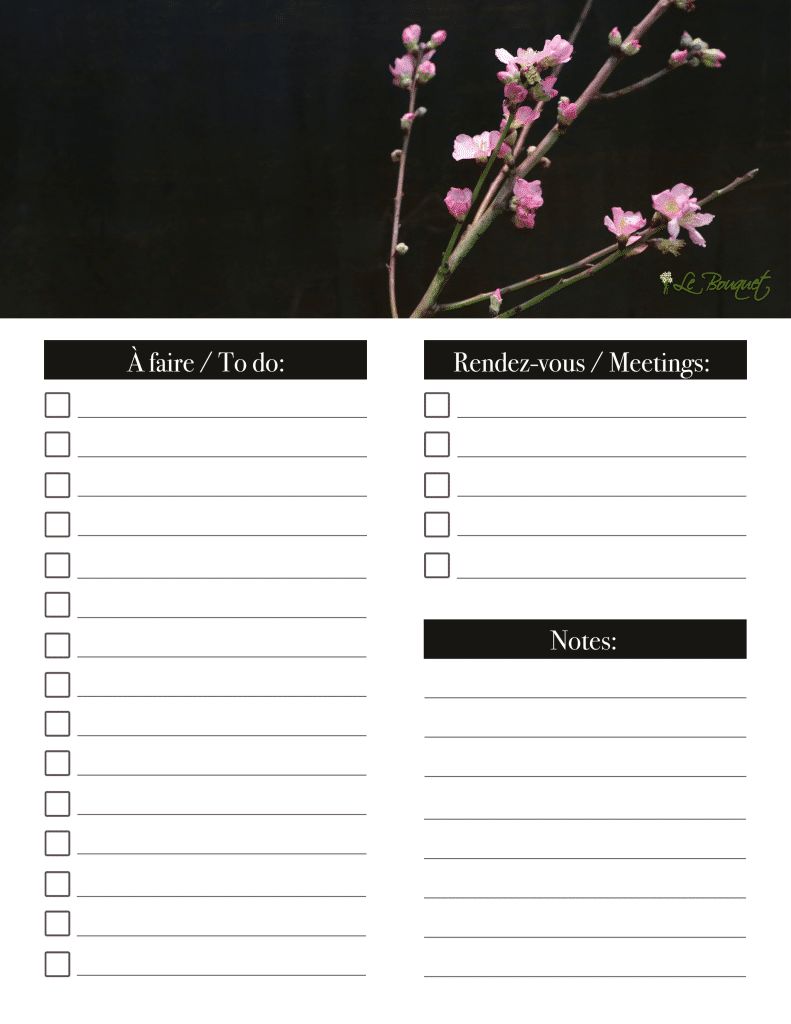
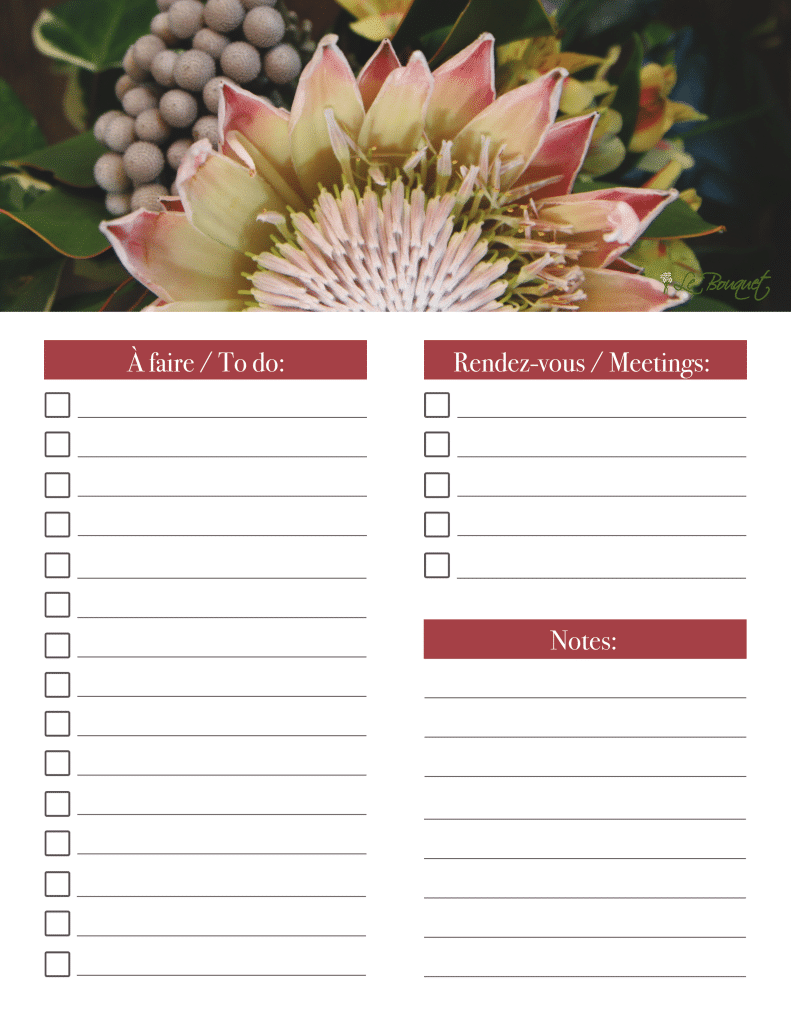
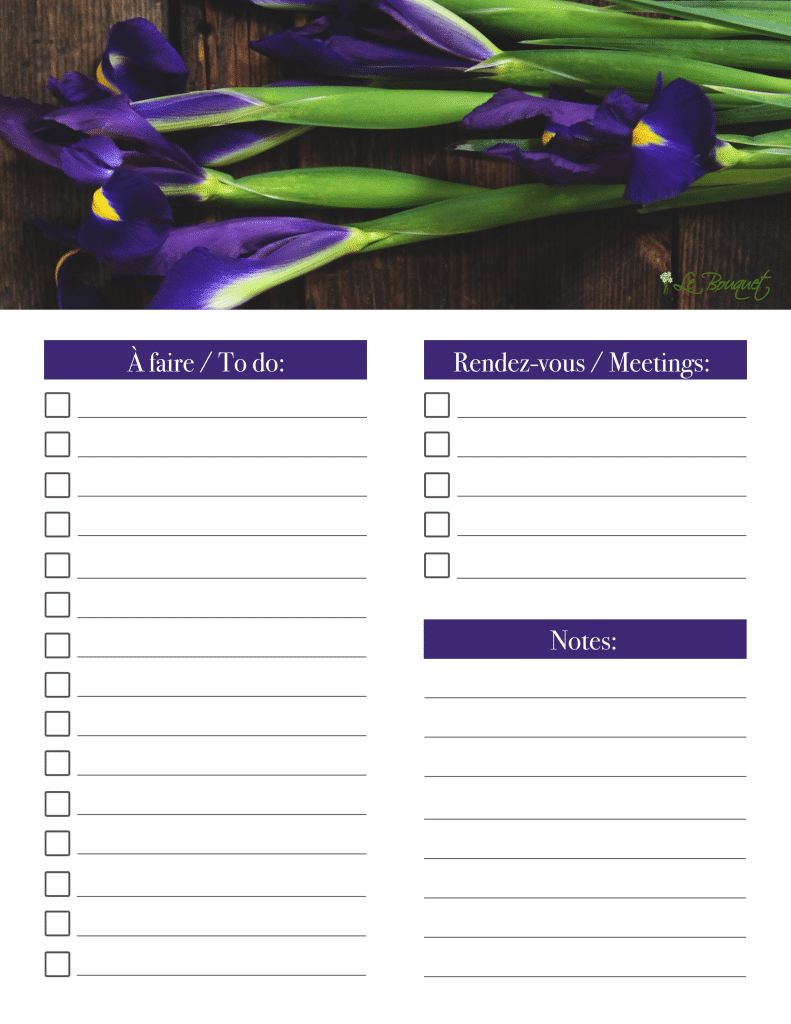
This is the printable we’re using today. (MORE VERSIONS BELOW) It’s a 7-day blank organizer which can be used as a calendar or bullet journal. (Right-click ‘save image as…’)
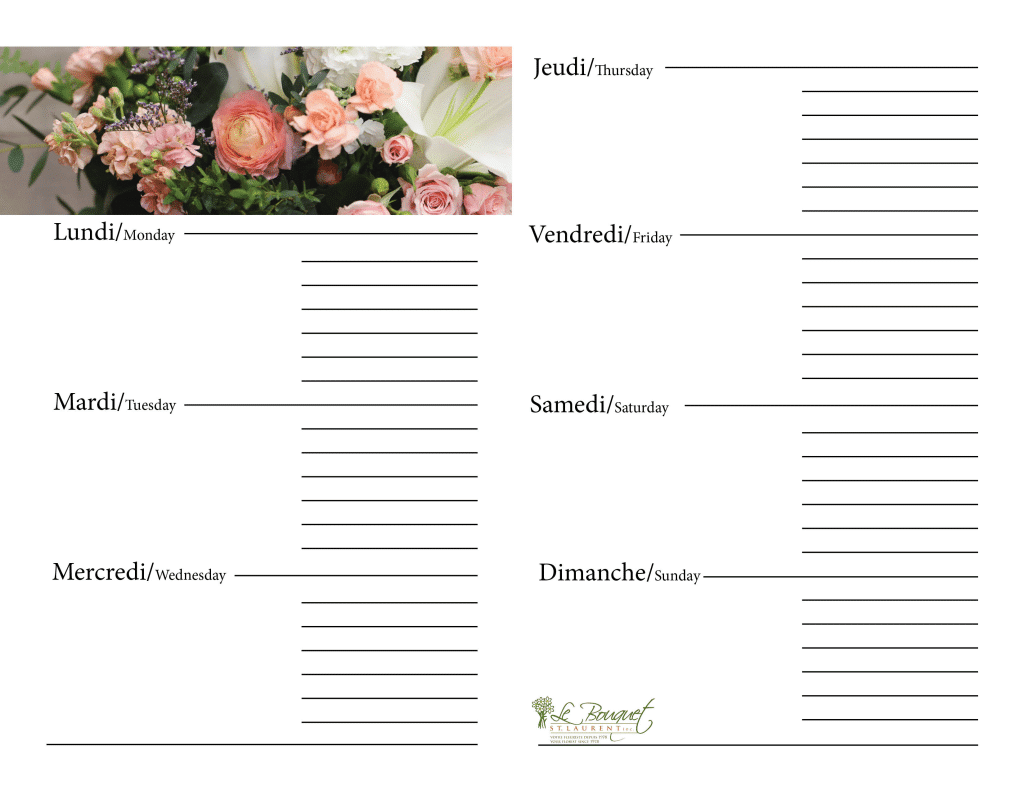
We started by printing 8 sheets, or two months worth (one side only so the other can be used as a doodle page, but feel free to print on both sides).

First we folded each page hamburger style. Do you remember this from elementary school? Hotdog style is lengthwise, hamburger style is widthwise.

Next we placed them side by side, together, in a neat little pile off to the side.

Next we used a regular size sheet of construction paper and folded it in half hamburger style as well.

Keeping the group of neatly folded papers in a bunch, carefully fit them inside the folded construction paper sheet as demonstrated and staple as close to the side as possible down the left side.

This way the pretty side of the staples are showing.

Voila! You’ve just made an adorable journal!

Now all that’s needed is a little cover artwork. We’ll leave that up to you.

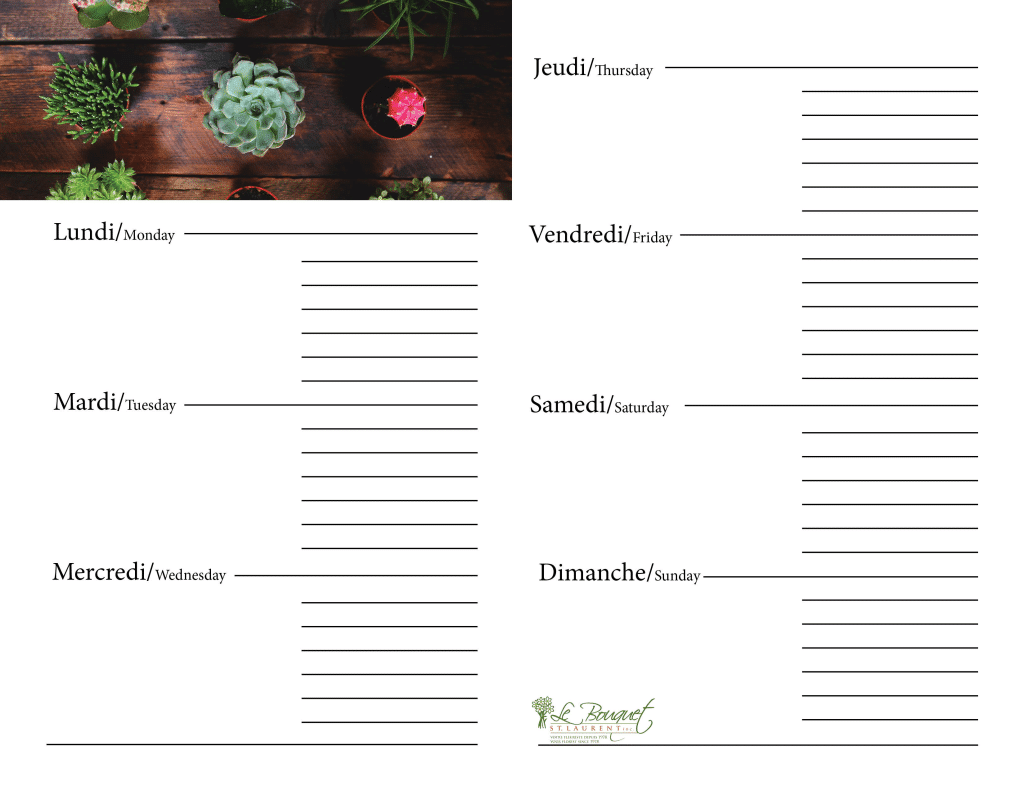
This image has an empty alt attribute; its file name is image-95-1024x791.png

For more printable ideas, flower arranging tutorials, or tips and tricks, click below:

Getting Organized With Flowers

Getting Organized With Flowers

Some of us have a harder time staying organized than others. With everything going on in our lives, it’s nice to have some help every once in awhile. So here is another set of pintable’s, of the daily organizer variety. We have the half page (which you can print on both sides for up to four days of organization), or a single stand-alone page, which is great for repeated use if laminated or framed in glass and used with a dry-erase marker.

Click on the one(s) you like, then right-click ‘save image as…’

Let us know if you find these helpful! We love flowers and we’ll deliver them any way we can!
For even more clever ideas, check out our other posts!

Facebook

View this post on Instagram

Shared post on

Instagram embed code generator

Sometimes We Need A Little Change – Free Desktop Wallpaper

Sometimes We Need A Little Change – Free Desktop Wallpaper

Ready to stare at some pretty flowers?

If you’re feeling ready for change, but not in a total-life-makeover kind of way – we feel you. Life happens, time goes by, and in some cases we’re caught staring at the same desktop wallpaper for years on end. Not a big deal, right? You’re right. It’s not. But it is fun to change things up every once-in-awhile.

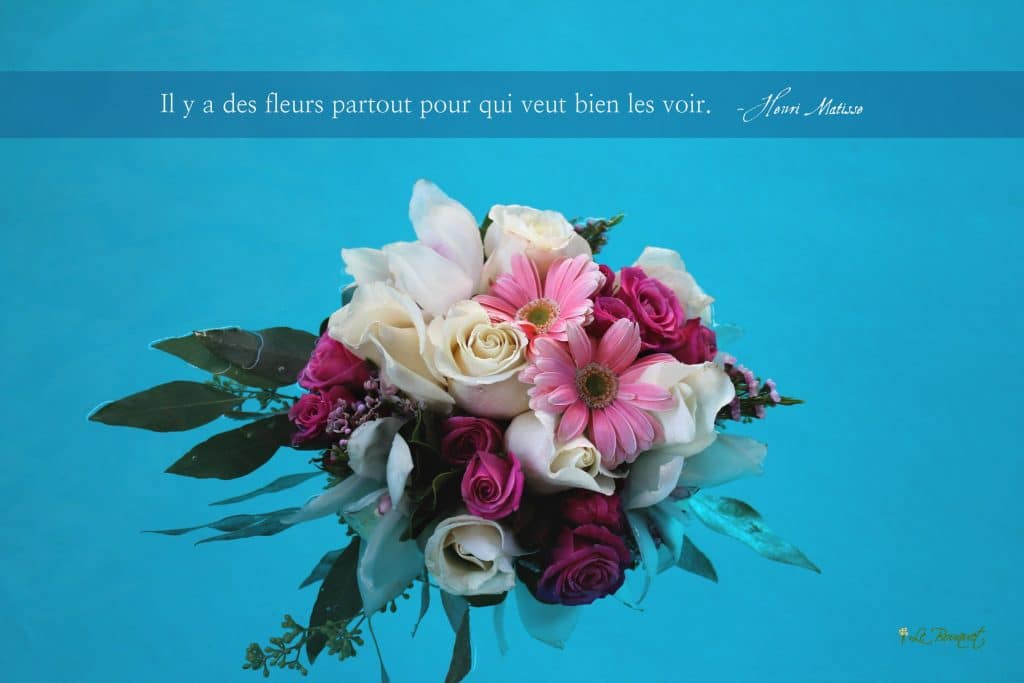
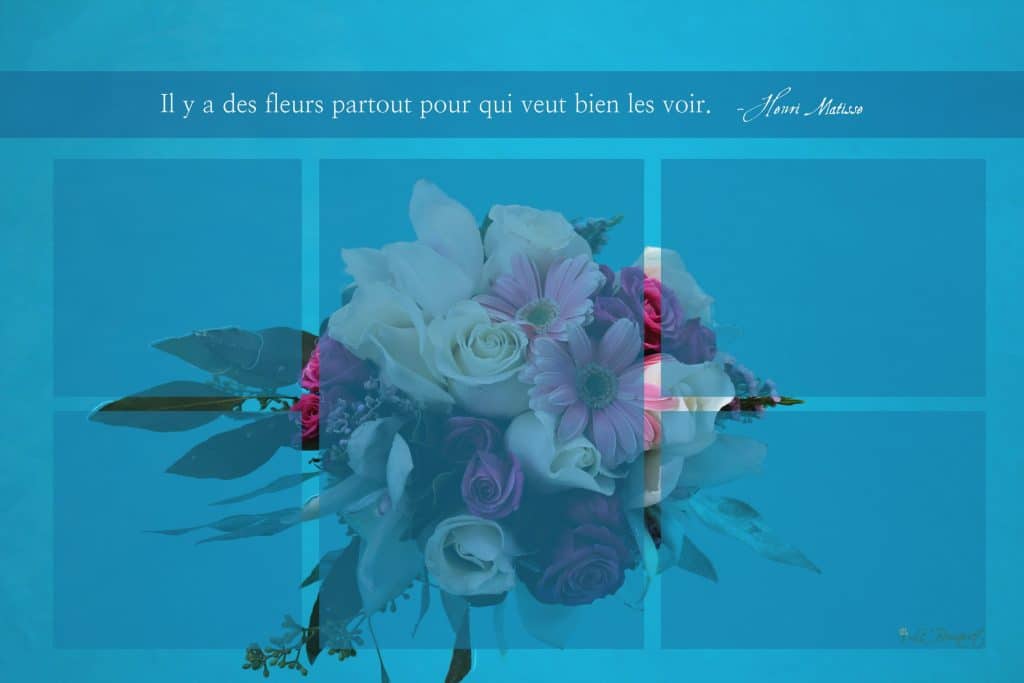
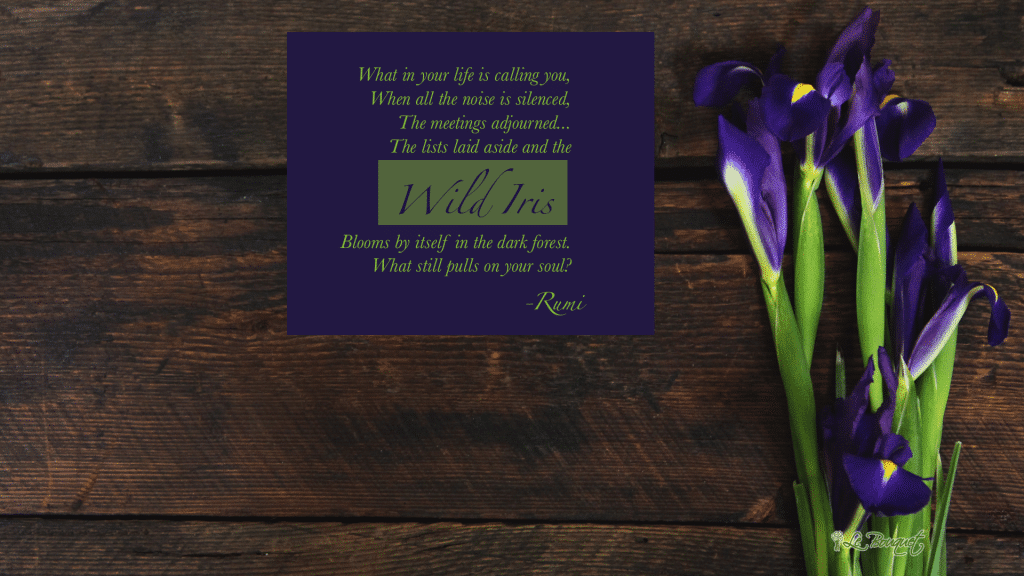
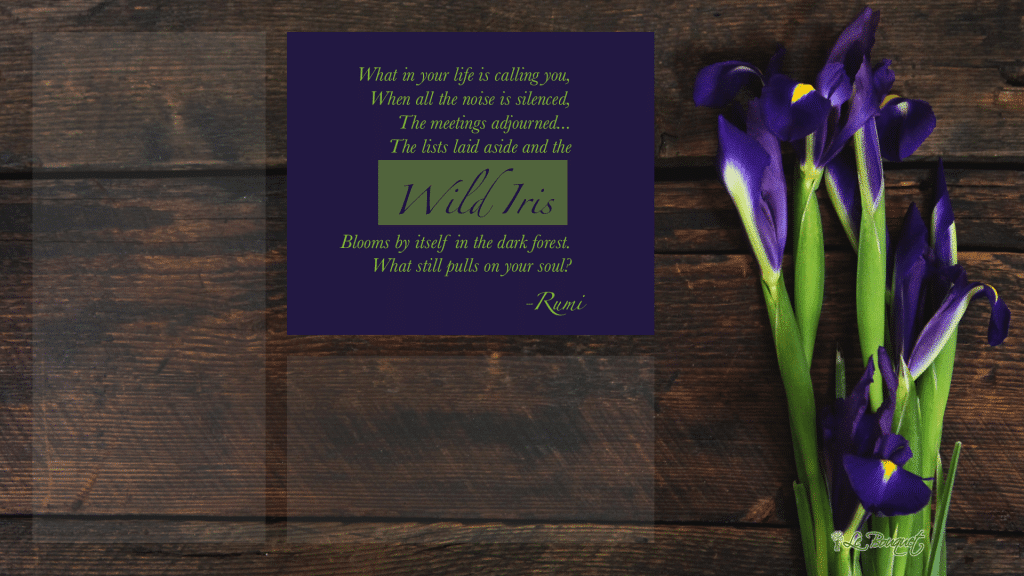
So for those of you who want to feast your eyes on something different, we give you two different wallpapers. With and without organizer compartments (for the neat freak in you). Click on the one you want to download and right-click ‘save image as…’ Then set it as your desktop image.

When you’re done organizing your desktop, check out our other posts, like this one:

Wouldn’t those bouquets look beautiful in a spring-cleaned kitchen? We’re daydreaming over here.

Facebook

View this post on Instagram

Shared post on

Instagram embed code generator

Flowers vs. Words – How To Choose A Bouquet With Meaning

Flowers vs. Words – How To Choose A Bouquet With Meaning

For centuries, flowers have been used to communicate feelings and ideas that, quite simply, words just can’t. Depending on the country and time period, a single flower can have totally different meanings. Let’s use the example of yellow roses.

Modern-day North American meaning = friendship.
Victorian-era meaning = time to break off our courtship.

“So how do I choose the right flowers?”

There are a couple ways.

1. Use a list of flower meanings to choose
the flowers specific to your message.

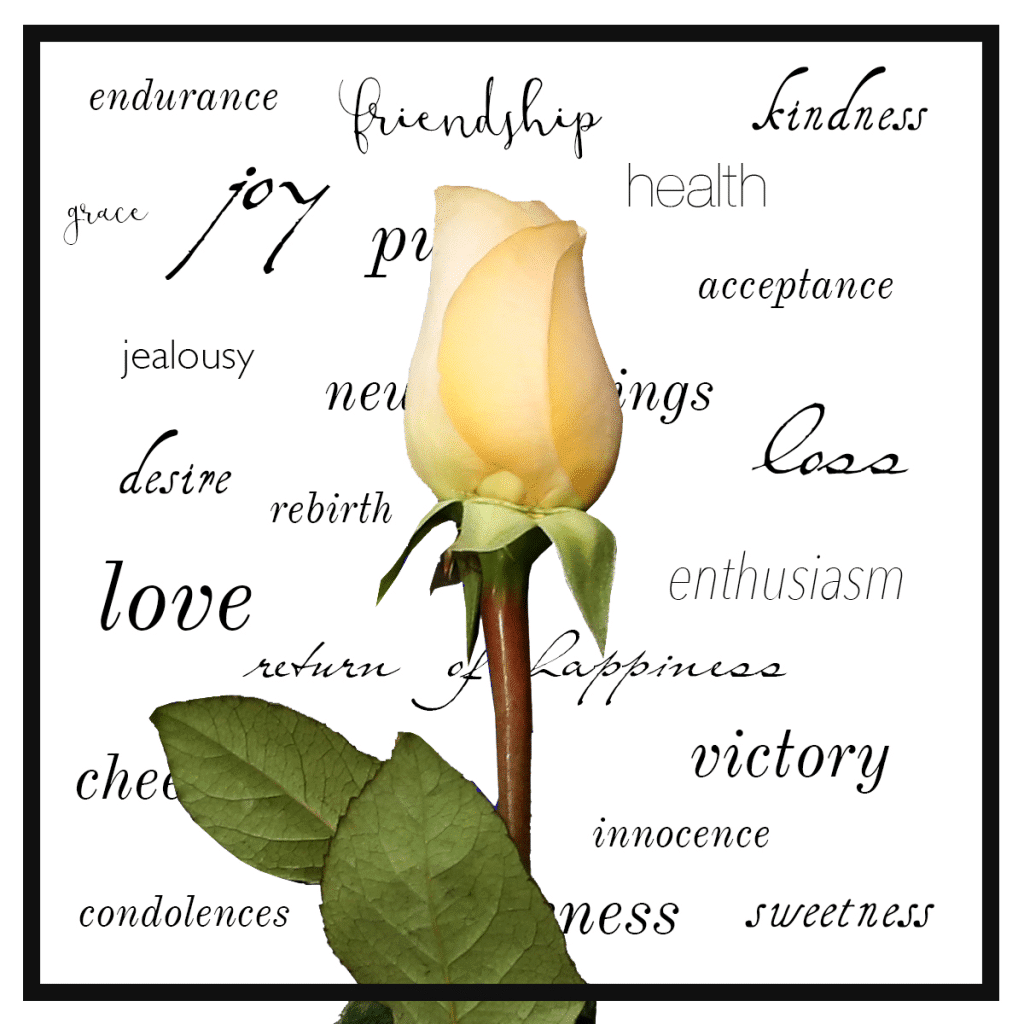
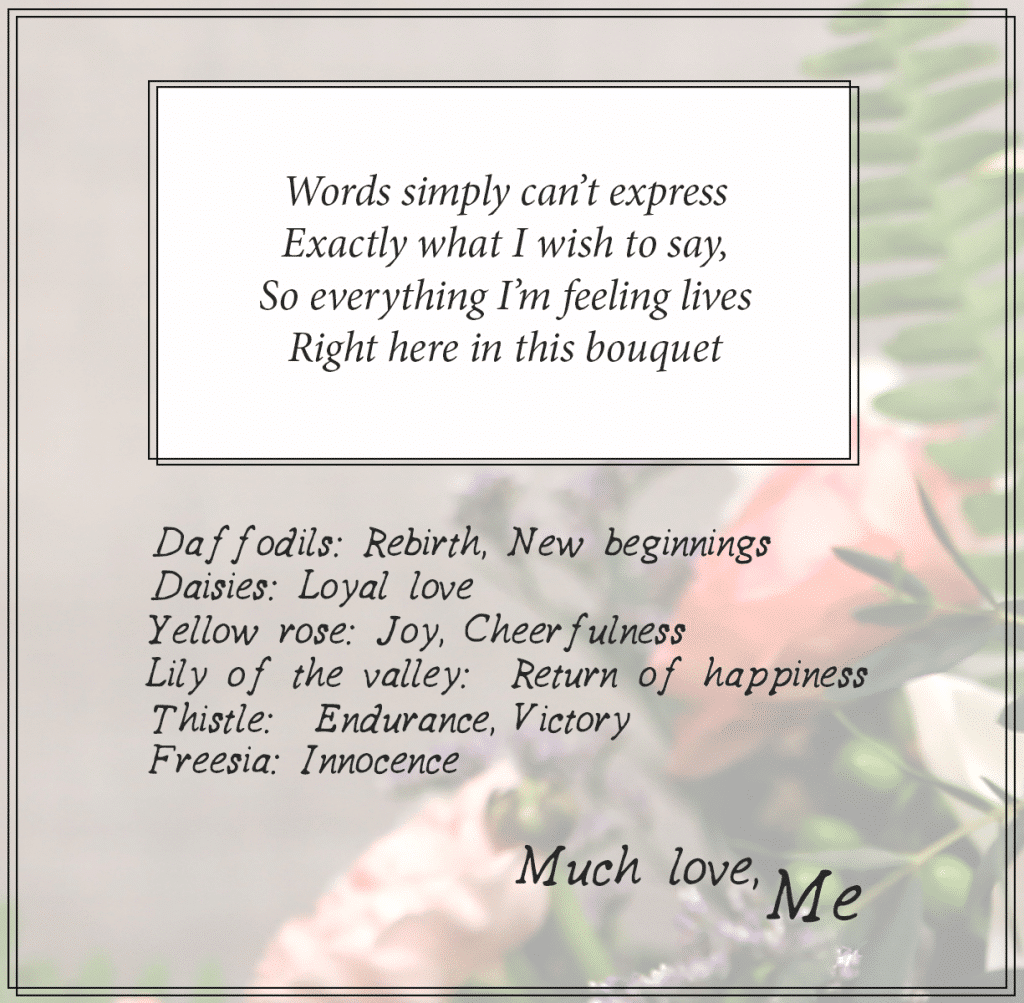
There are lists galore (see below in the links section). You’ll likely find meanings which contradict each other so that’s something to keep in mind, but you’ll find many lists contain the same information. And chances are, the person receiving the bouquet won’t be familiar with all the different meanings, specifically. That can make for a beautiful moment if you decide to write down on a card the names of the flowers you chose and the meanings you found and connected with. Here’s an example:

If this idea seems like a good one, here are three different versions you can download free. Just click on the one(s) you want, then right-click ‘save image as…’

2. Throw the list out the window and create your own
meaningful bouquet based on feeling.

Maybe that doesn’t seem like helpful advice, but think about this for a second. Have you ever seen a picture of something – say a city you’ve never been to – and known in a split second whether or not you wanted to pay that city a visit? Maybe you don’t have words to describe how the image makes you feel, but you know generally if you like what you’re looking at or not. Using your intuition to pick the right flowers can be a fun, meaningful technique, and also a wonderful chance to connect with your intuition. Do you like the look of red roses? How about sunflowers?

If you’re choosing flowers for a hand-tied bouquet (most common type, usually wrapped in paper or celophane), then we suggest this rule for assembly:

3-6 statement flowers (something with a big flower like a rose, gerber, or lily, etc.)
3-6 filler flowers (like wax flower, double stock, lisianthus, etc.)
2 types of greens (babies breath, big leaves, etc.)

Starting from the center and working your way around, alternate big flowers, greens, and filler flowers. Leave bigger leaf greens for the outside to help support the bouquet. If you’d like to see an example, click here.

Now you have two ways to make your bouquet extra special.

The old Farmer’s Alamanac
About Flowers
The Flower Expert
Wikipedia

Facebook

View this post on Instagram

Shared post on

Instagram embed code generator

Bridal Bouquets for 2017

Bridal Bouquets for 2017

If you’re getting married this year, chances are you’ve already chosen your bridal bouquet. If you haven’t, let us introduce you to our 6 favorites for 2017!

Diamond Spring Bridal Bouquet

This is our take on the traditional white bouquet. We’ve updated it with a beautiful gold wire nest and diamond pins in the heads of each of the white roses you see here. It’s a bit lighter in weight than the other bouquets featured in this post, so if you’re planning on carrying your bouquet throughout your reception, this is a great option. Your arm will not fall off.

Rustic Spring Bridal Bouquet

What can we say about this bouquet that you can’t already see in the pictures? Featuring four different color roses, alstroemeria (or Peruvian Lily), doublestock, and of course beautifully accented with one of our favorites, pink ranunculus, two different sizes means you can carry the larger one down the isle and use the smaller one for the bouquet toss. Imagine a mountain wedding. Or a beautiful farm wedding. A wooden arch, perhaps? We adore this.

Pink Protea Bridal Bouquet

This hand-tied bouquet is reserved for the confident, daring, non-traditional bride. Why? Because these proteas demand attention. This bouquet is a show-stopper from start to finish, in an I’m-bold-and-beautiful kind of way. Imagine this paired with a minimalist wedding wedding gown. Now we’re getting’ somewhere.

Purple Calla Lily & Lotus Pod Bridal Bouquet

Pods are in this year, have you heard? We married them (get it?) with deep purple calla lilies and white roses for a really unique look. This was overwhelmingly one of our fan favorites at the Marions-nous wedding show this year. It’s solid and beautiful in a grounded, earthy sort of way. In fact, we noticed that the public, in general, tended to examine this bouquet like a painting at the fine art museum. A long gaze at first – then a closer look at the details, and finally a few minutes to ponder the meaning of it all.

Amber Falla Bridal Bouquet

This bouquet inspired an entire set of pintable’s here at Le Bouquet. It was designed by Natalie a couple months ago for a fall wedding and we just couldn’t get enough of the yellows, reds, and burnt oranges. So we designed a larger one, with the same amount of draping in the front, and boy did it steal the show. Imagine this same type of bouquet in different color palates. Like purples or reds.

Celestial Wonderland Bridal Bouquet

In preparation for this year’s Marions-nous wedding show, we asked Natalie to design a hand-tied bouquet which featured a mix of warm and cool winter colors. This can be a bit tricky to pull off sometimes due to the base notes clashing. She came back with this bouquet, which we call Celestial Wonderland, because that’s exactly where it transported us. Imagine a cool, winter photoshoot with freshly fallen snow, a stunning gown, soft lighting – and this bouquet.

So there you have it, our top 6 bouquets for 2017! However, we’re never done creating and dreaming up beautiful bouquets! If you’re getting married this year and want to create something completely different than what you see here, give us a call.

514-747-2581

Consultations with Natalie are free. Imagine the possibilities…

Piiiiinterest!

Facebook

View this post on Instagram

Shared post on

Instagram embed code generator

1 Bouquet 6 Ways

1 Bouquet 6 Ways

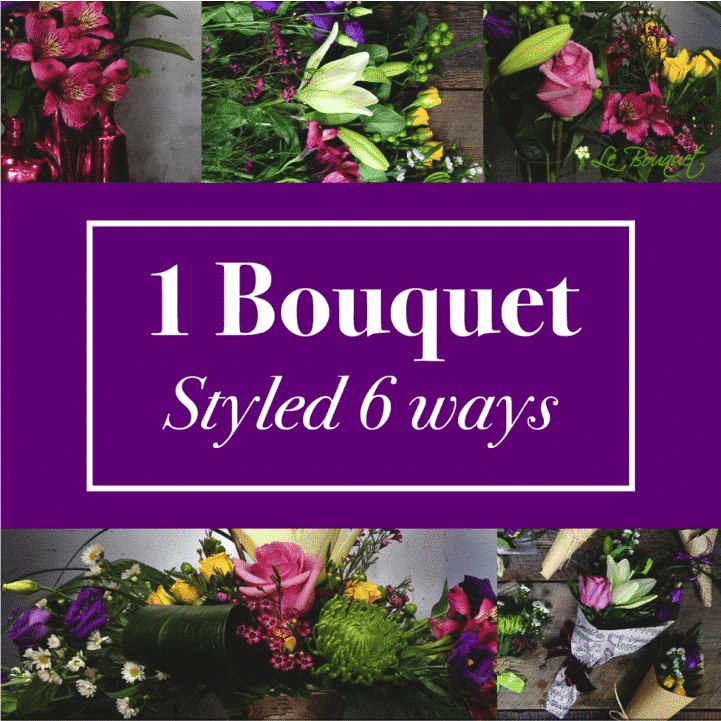
Have you ever wondered if there was anything else you could do with your $35 store-bought bouquet besides put it in a vase when you get home? If you’re a do-it-yourselfer like some of us here at the shop, then this post is for you because today we’re going to use one bouquet (and one only!) to demonstrated 6 different arrangements you can do at home. All by yourself. Be sure to invite the neighbors over after so you can show off. Better yet, teach them how to make one of these awesome arrangements! Because sharing is caring.

We started with our basic $34.99 bouquet.

1. Classic Hand-Tied Bouquet

Joseph recommends separating all of your flowers and greenery. Then starting from the middle and working your way around, alternate flowers and greenery with the flowers being higher in the center. Save the big greens for the outside of your bouquet and tie with ribbon or twine. You can wrap the flowers in paper (even something as simple as newspaper really goes well with this color palette), or deliver as-is for a rustic vibe.

2. The Vase Arrangement

This is the most common, of course, but we’re gonna offer a couple of pointers. Instead of taking the bouquet directly from the packaging to the water, we recommend playing with the shape of the bouquet in the way mentioned above in #1 (unless it already comes in a round shape – then you can just plop it directly in a vase full of water). Play with the shape by cutting the flowers on the outside of the bouquet a little shorter. This will give your bouquet dimension.

The key word here is play. Flower arranging is fun and when done right, has positive benefits on your health (which we will post about soon!).

3. Multi-vase Arrangement

Using what you have around the house (mason jars, glass drinking bottles, mismatched vases, etc.), divide the bouquet into three portions. We decided to put the purples and whites together, pinks and greens together, and our dark pinks and yellows together.

Joseph played with the heights of each flower in each container, and you should, too, because there aren’t any specific rules on how to do this. Emphasis on the word play here.

We used the long grass at the very end to add shape and to connect the vases. If you’re really feeling creative, you can connect the vases in different shapes using the wide leaves, like version two of this arrangement.

4. All-In-One Vase Arrangement

There are some really fun all-in-one’s out there. In this one, we mimicked the style in #3, keeping the flowers in the same color bunches. But as you’ll see, they’re much closer together and create an entirely different feeling.

5. Romantic Cascading Arrangement

You’ll need a container wide enough to hold an oasis (green florist’s foam block, already soaked in water). Joseph starts these arrangements by separating the flowers and the greens and placing the most prominent pieces first (in this case the rose and lily). Big leaves are inserted on a side angle so they’ll drape. Flowers on a single stalk, like the rose and the lilies, get clipped pretty short and placed front and center (or wherever you want your eye to go first). Longer stalks with multiple blossoms, like the lisianthus and the alstroemeria, are left long and inserted on a side angle into the oasis on top of any draping leaves. Then the smaller flowers, like the pink wax flower, and any tiny fluffy greens are added as filler for any gaps. (You get more usage out of the smaller branched flowers if you cut them up into several pieces.)

***When working with an oasis sponge it is advised that the stems get inserted as deep into the oasis as possible. This insures that they last longer because that is where the water is, especially if you don’t add water everyday.

***Also important: The flowers should get clipped with a sharp non-serated knife or a good pair of garden shiers – and always at an angle!

6. Mini Bouquets

What can we say about mini-bouquets other than that they tend to steal the show! We love everything miniature, it seems, and these are no exception. If you want these to last for several days, you’ll need to find yourself some floral tubes (we sell them). Now, mini-bouquets are nearly impossible to mess up if you follow this one simple rule:


For every large single flower (like this green pom pictured below), include a small bunch of filler flowers and then some greens.

Carefully insert them into your tube (if you don’t have a tube, you can wet some paper towel and wrap the ends with saran wrap), and then wrap them in your favorite paper.

Voila! One bouquet suddenly becomes 6 mini-bouquets!

And there you have it. Our basic $34.99 bouquet transformed in 6 different ways. This bouquet can be ordered here.
Wanna share your transformations with us? Post them to our facebook page!

Facebook

View this post on Instagram

Shared post on

Instagram embed code generator